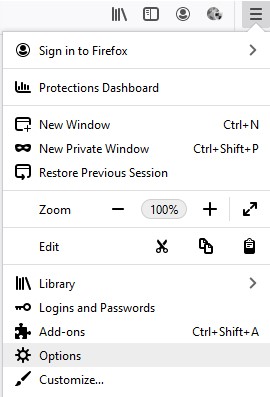
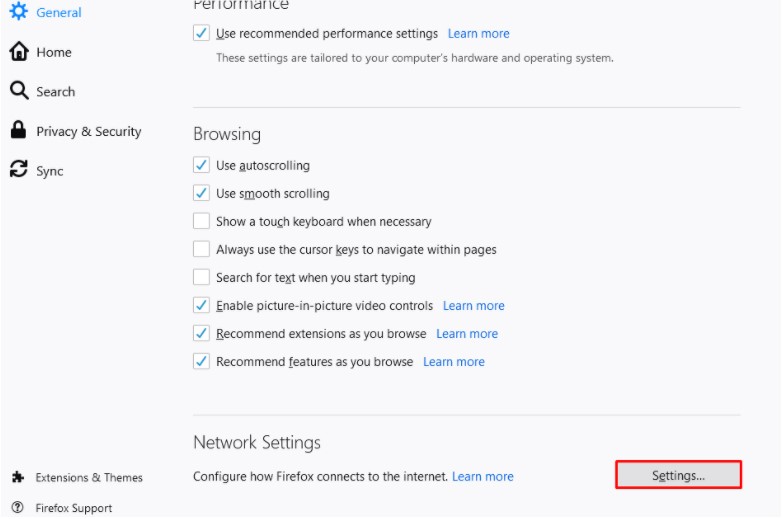
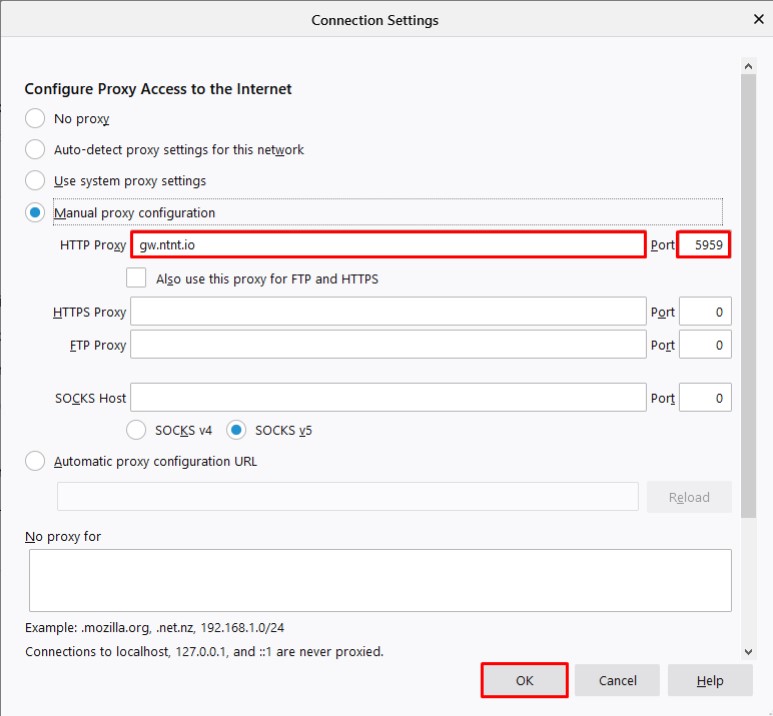
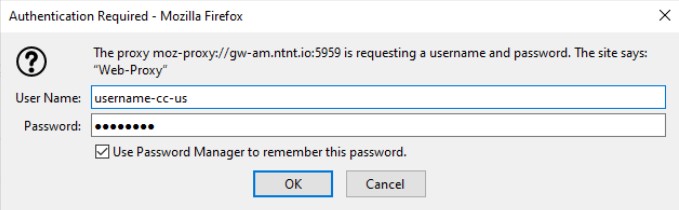
25 Aug integrations 浏览器代理设置 Firefox代理设置 如何在 Firefox 上进行代理设置 How to configure proxy settings on Firefox1. Open Mozilla’s Firefox2. From the menu located in the right-hand corner of the Firefox browser, click on “Options”or by copying and pasting the following link into your Firefox browser: about:preferences 3. From the “General” Tab of the settings page, scroll to the bottom, under “Network Settings” click “Settings” 4. In Connection Settings, enter the following details for HTTP Proxy and Port and then click ‘OK’:• HTTP Proxy: gw.ntnt.io• Port: 5959 5. Open a new tab in the browser.You will be prompted to enter your username and password. Enter your NetNut username and password here and click “OK”. Choose a country by entering the country code at the end of the username like this:United States: username-cc-usGermany: username-cc-deSpain: username-cc-es6. Check the IP using Firefox browser Done! You can now explore the web using NetNut proxiesdirectly from your Firefox browser. 7 day free trial 注册 Like Share