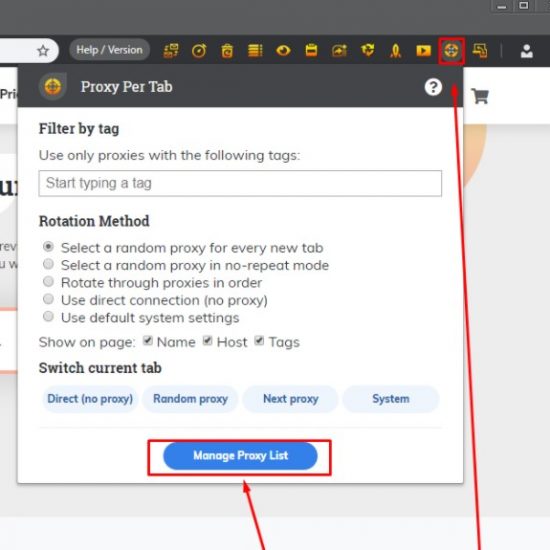
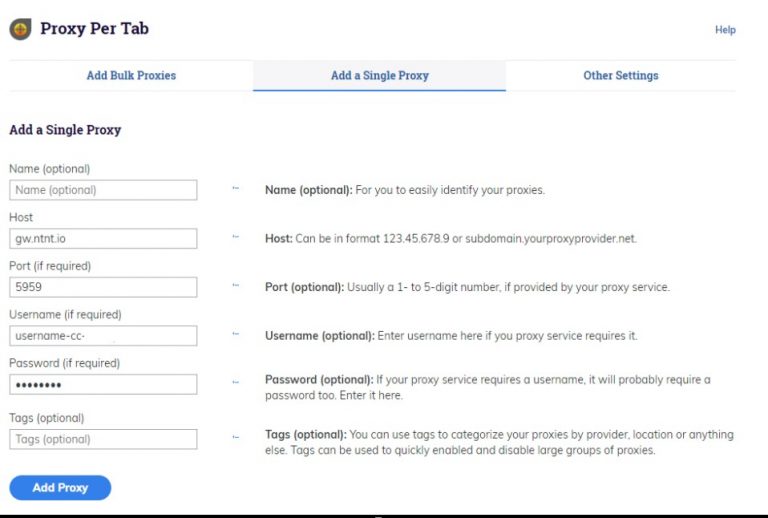
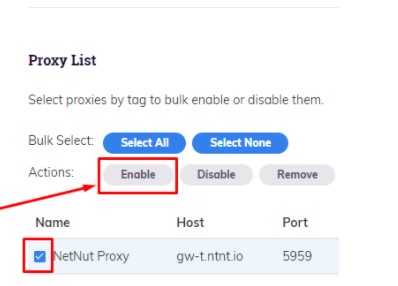
25 Aug integrations 浏览器代理设置 如何在 Insomniac 浏览器上进行代理设置 How to configure proxy settings on Insomniac Browser1. Open Insomniac Browser.2. Click the ‘Proxy Per Tab’ icon and click on the ‘Manage Proxy List’ button. 3. In the ‘Manage Proxy List‘ window, click ‘Add a Single Proxy’. NetNut proxies rotate automatically after every request. • In the ‘Host’ field – Enter gw.ntnt.io.• Under ‘Port’ enter 5959.• Insert your NetNut username and password. • Choose a country (see available countries) by entering the country code (cc). For example:United States: username-cc-usGermany: username-cc-deSpain: username-cc-es**If you wish to automatically rotate between random countries, replace the country code in the username with ‘any’username-cc-any4. Click ‘Add Proxy‘. 7. Under “Proxy List”, click the proxy and select “Enable“8. Click “OK” to save your proxy settings. 9. Check the IP using Insomniac Browser Done! You can now explore the web using NetNut proxiesdirectly from your Insomniac Browser.Now you can open multiple tabs, each switching to a different IP. 7 day free trial 注册 Like Share